Web Event Tracking
AutoROICalc can collect custom website events and turn them into records for reports and dashboards. This is useful when standard analytics tools do not capture the exact business activity you want to measure, such as a pricing-page interaction, form step, demo request, checkout action, campaign touchpoint, or another event that matters for ROI reporting.
You can collect web events in two ways: use the ready-made JavaScript tracking module, or send events directly to the Collect Web Event API from your own website, backend, tag manager, or automation.
Use web events for specific business signals
Web event tracking works best for important actions that should appear in AutoROICalc reports, not for collecting every possible page interaction.
When to Use Web Event Tracking
Use web event tracking when you want to:
- Track important website actions as AutoROICalc records
- Connect campaign sources with later user actions
- Measure leads, conversions, signups, or key funnel steps
- Capture custom events that are not available through a standard integration
- Feed website activity into ROI reports and dashboards
How It Works
The web event endpoint receives a tracking ID, event type, description, source list, value, and optional tags. AutoROICalc then creates a record using the current date and time.
A collected web event becomes a regular AutoROICalc record with:
typefrom the event typedescfrom the event descriptionsourcefrom the submitted source listtagsfrom optional submitted tagsvaluefrom the submitted numeric valueactivityset toclosed
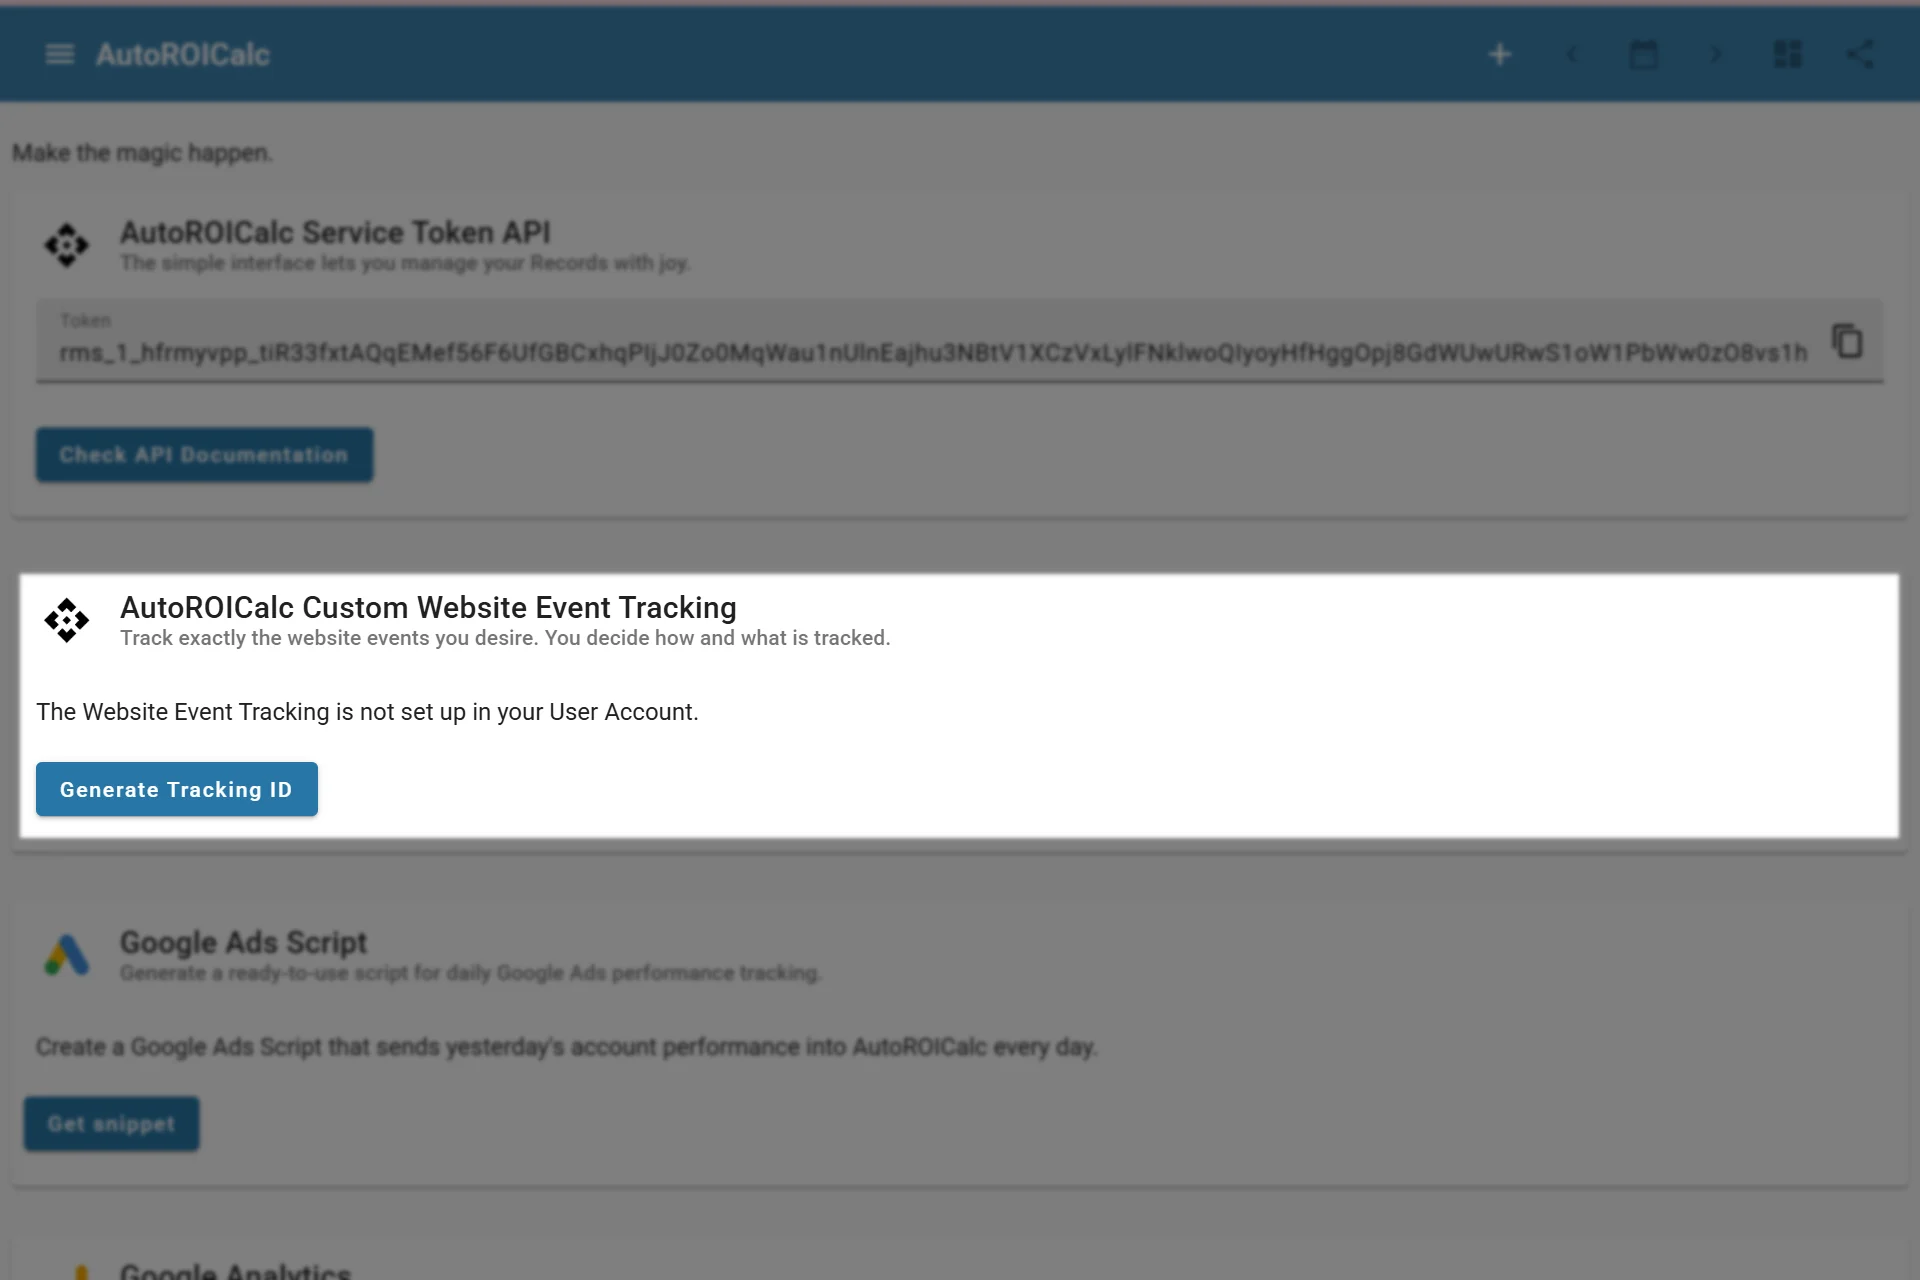
Getting Web Events Tracking ID
Get Your Web Events Tracking ID
Using the Tracking Module
The custom web events tracking module is a lightweight JavaScript helper that can be added to a website. It can detect and store session sources, keep a short history of collected sources, optionally write those sources into a cookie for server-side processing, and send custom events to AutoROICalc as records.
Typical setup steps are:
- Generate or copy the tracking ID in AutoROICalc.
- Add the JavaScript module to your website.
- Configure source tracking if needed.
- Send custom events from the actions you want to measure.
- Review the collected records in AutoROICalc reports and dashboards.
Using Web Events Without the Module
You do not have to use the JavaScript tracking module. If you already have your own tracking code, tag manager, backend event handler, or server-side conversion logic, you can call the Collect Web Event API directly.
This is useful when:
- Your website already has custom analytics code
- Events should be sent from the backend after validation
- A tag manager should trigger the event
- A form, checkout, CRM, or booking system should report a conversion
- You want a minimal integration without adding the full tracking helper
The direct endpoint accepts these query parameters:
| Parameter | Required | Description |
|---|---|---|
trackingId |
Yes | Web events tracking ID from AutoROICalc |
type |
Yes | Record type, such as lead, signup, demo_request, or purchase |
desc |
Yes | Human-readable event description |
sources |
Yes | One or more record sources, separated with | |
value |
Yes | Numeric value saved on the record |
tags |
No | One or more tags, separated with | |
debug |
No | Set to true to return the created record in the response |
Keep the tracking ID private enough
The tracking ID is meant for event collection, but it can create records in your account. Use it only in places you control, and avoid sending noisy or unvalidated events.
Direct URL Example
A simple event can be sent with a regular GET request:
https://api.autoroicalc.com/record/collect_web_event?trackingId=YOUR_TRACKING_ID&type=demo_request&desc=Demo%20request%20form%20submitted&sources=google%20%2F%20cpc%7Cpricing-page&value=1&tags=website%7Clead
This creates a record similar to:
{
  "type": "demo_request",
  "activity": "closed",
  "desc": "Demo request form submitted",
  "source": ["google / cpc", "pricing-page"],
  "tags": ["website", "lead"],
  "value": 1
}
JavaScript Fetch Example
You can send an event from your own JavaScript without the tracking module:
const params = new URLSearchParams({
  trackingId: "YOUR_TRACKING_ID",
  type: "lead",
  desc: "Contact form submitted",
  sources: "website|contact-form",
  value: "1",
  tags: "lead|contact"
});

fetch(`https://api.autoroicalc.com/record/collect_web_event?${params}`, {
  mode: "no-cors"
});
Server-Side Example
For important conversions, sending the event from your backend can be more reliable than sending it from the browser:
const params = new URLSearchParams({
  trackingId: process.env.AUTOROICALC_TRACKING_ID,
  type: "purchase",
  desc: "Checkout completed",
  sources: "woocommerce|checkout",
  value: String(order.total),
  tags: "ecommerce|purchase"
});

await fetch(`https://api.autoroicalc.com/record/collect_web_event?${params}`);
Source Tracking
The tracking module can help identify where a visitor came from, including campaign and source information. It can store multiple collected sources during a session flow, which is useful when a visitor touches several campaign or referral points before completing a valuable action.
When you call the API directly, you provide the sources yourself. Use consistent source names such as google / cpc, linkedin / organic, newsletter, pricing-page, or checkout so reports can group and compare events correctly.
When to Use the Records API Instead
The Collect Web Event API is intentionally simple. Use the full Records API when you need to control the record date and time, send raw_data or custom_data, update existing records, or create richer integration records.
Developer Resources
The full tracking module implementation, JavaScript examples, configuration options, and latest module source are available in the GitHub repository: