Is your desire to have everything under control? Would you like to decide when and how to capture the user’s session source on your pages? Want to decide what and when will be sent? Want to have full control over your web events tracking workflow? Yeah, be the one who can benefit from our custom web events tracking feature!
Create Your User Account
Create your AutoROICalc User Account if you don’t have one. To Register, please navigate HERE. We only required the Username and Email. Your Password is set a little bit later. From the beginning, enjoy Premium features in the 30-day free trial. But don’t worry, the web events tracking is available for free forever.
Generate Your Unique Web Events Tracking ID
- Login into your user account, or create one if you have not registered before. Navigate to Account -> Integrations.
- Find the “AutoROICalc Custom Website Event Tracking” section.
- Click on the “Generate Tracking ID” button (see the image below) if you have not generated it before.
- Set up your custom web event tracking.
Use Our JavaScript Module for a Quick Start
The JavaScript module is easy to be integrated into any webpage. All you have to do is to include the module js in the HTML document head section and add 3 JavaScript lines to the place, where the event should be collected:
<!DOCTYPE html>
<html>
<head>
  <title>Sample Page</title>
  <script src="auto-roi-calc.js"></script>
  <script>
    AutoRoiCalc.setTrackingId(<YOUR_TRACKING_ID>);
    AutoRoiCalc.appendNewSource();
    AutoRoiCalc.sendEvent("Sample event type", "Sample event description");
  </script>
</head>
<body>
  <p>The document body.</p>
</body>
</html>
Get Started with GitHub or NPM
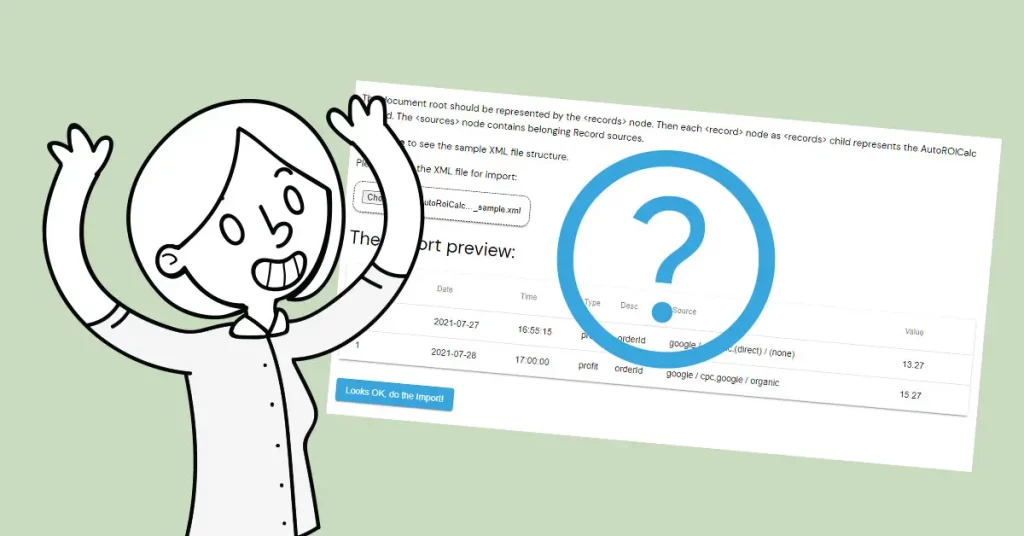
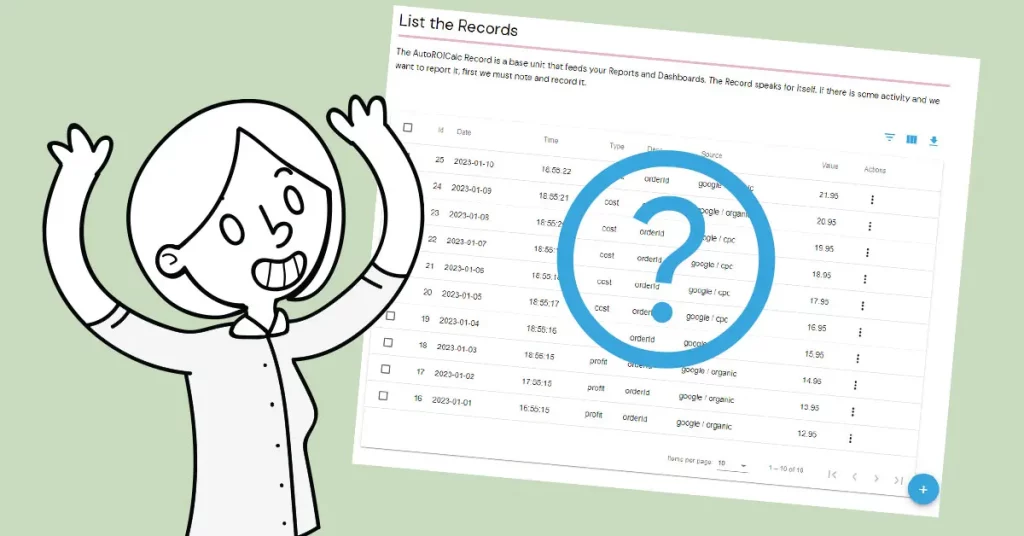
Read the full module description on the GitHub pages. Or blast off with a carefully prepared NPM package. After a quick start and successful setup, see your collected events in the “List the Records” section.
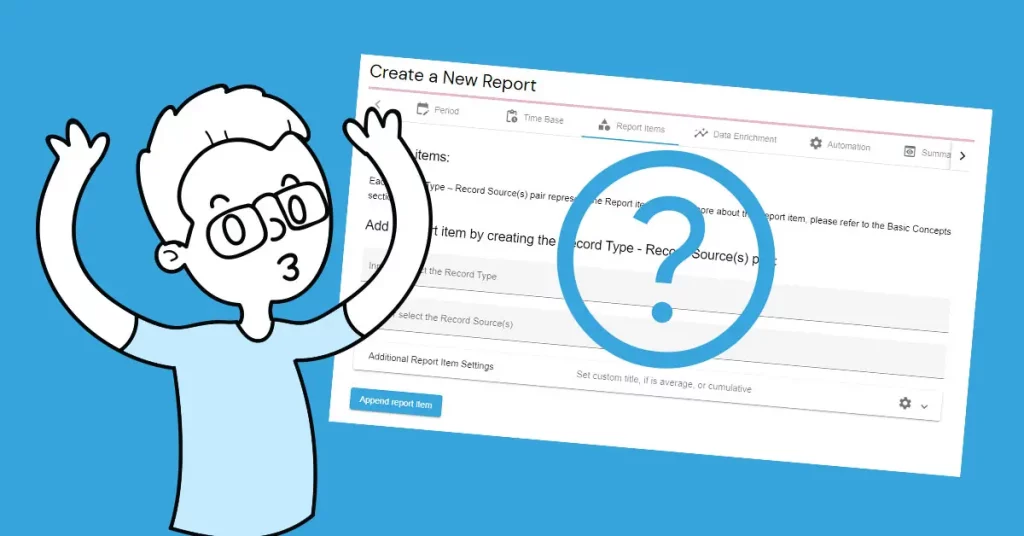
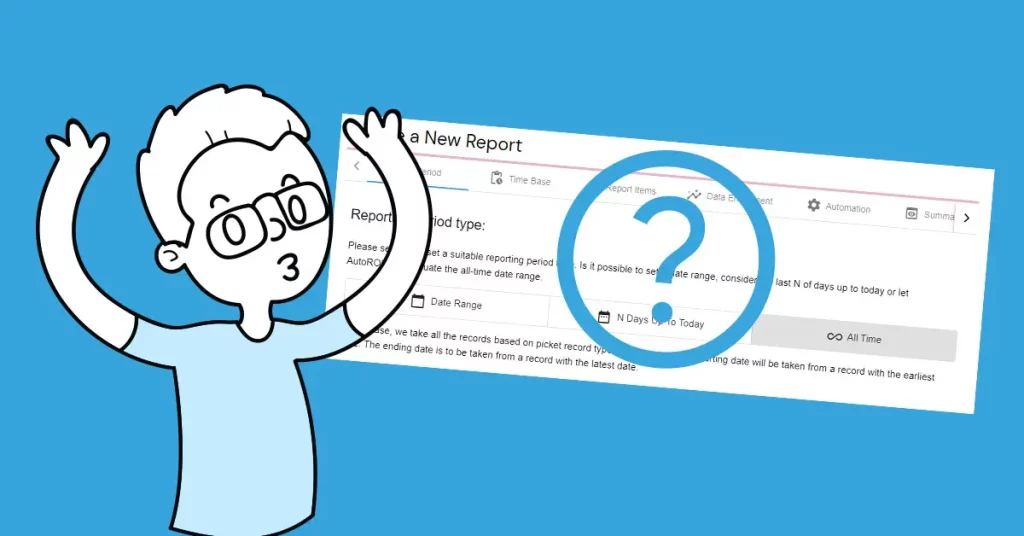
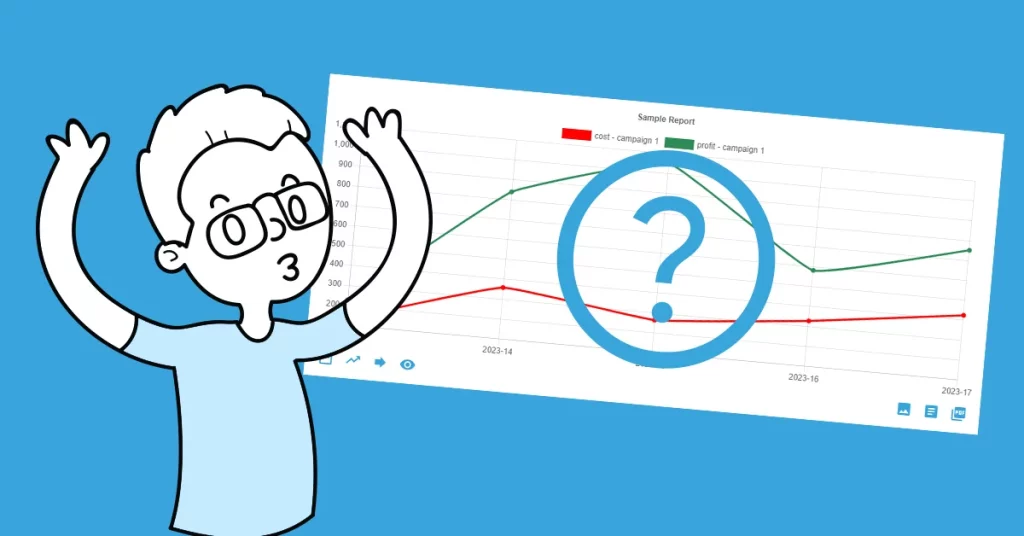
Create Your Custom Report
Now, when everything runs smoothly and the events are reliably collected, be free to create various Reports with all the features available to keep you securely on track.
Need help?
If you feel there is any change we can help you with setting up your custom web events tracking workflow, don’t hesitate to let us know. Happy web events tracking!