The AutoROICalc Dashboard represents a view of selected Reports. Usually, the Reports are related to each other. There are several simple steps to create a new Dashboard, divided into tab sections.
How to create a Dashboard
We use a few sample Reports to demonstrate the Dashboard creation. Navigate to Dashboards and then click on the “Create a New Dashboard” menu item. The first thing to do is to select the Reports to be included in the Dashboard. If you would like to have the Dashboard in your mailbox according to the desired schedule, clicking on the “Schedule e-mail Reporting” tab is the next step. Enable the e-mail Reporting here and configure your schedule.
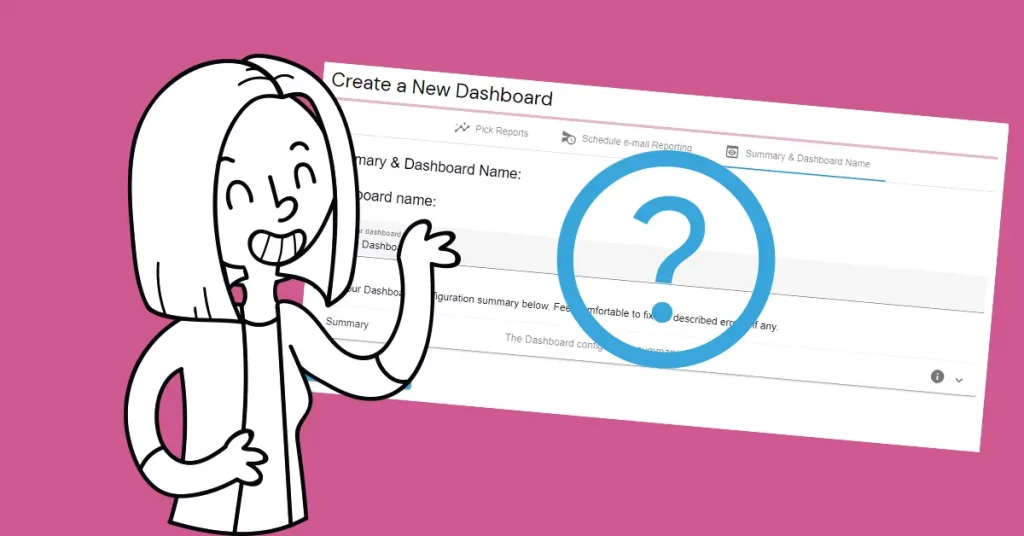
Finally, move to the “Summary & Dashboard Name” tab to finish the Dashboard creation. When ready, click on the “Save the Dashboard” button. Congratulations on creating your first Dashboard!