The AutoROICalc Report represents the development of related records for a certain time frame. It collects, prepares, and presents data to be accurately accessible with reliability for enjoyable decision-making. The purpose of the AutoROICalc Report is to show how you are doing with any kind of activity. The purpose is to give and guide you to the one and only right decision to make your activities even better.
How to create such a Report
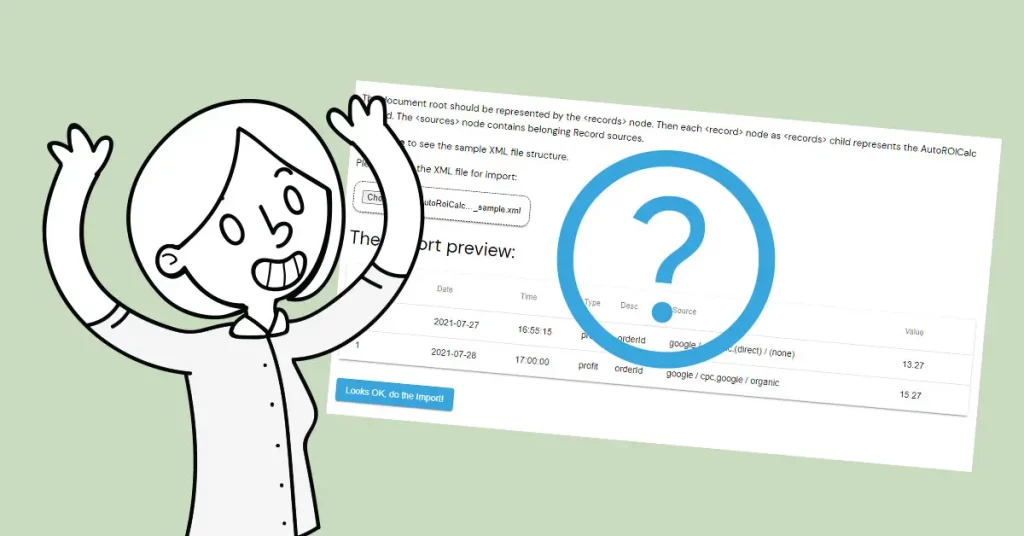
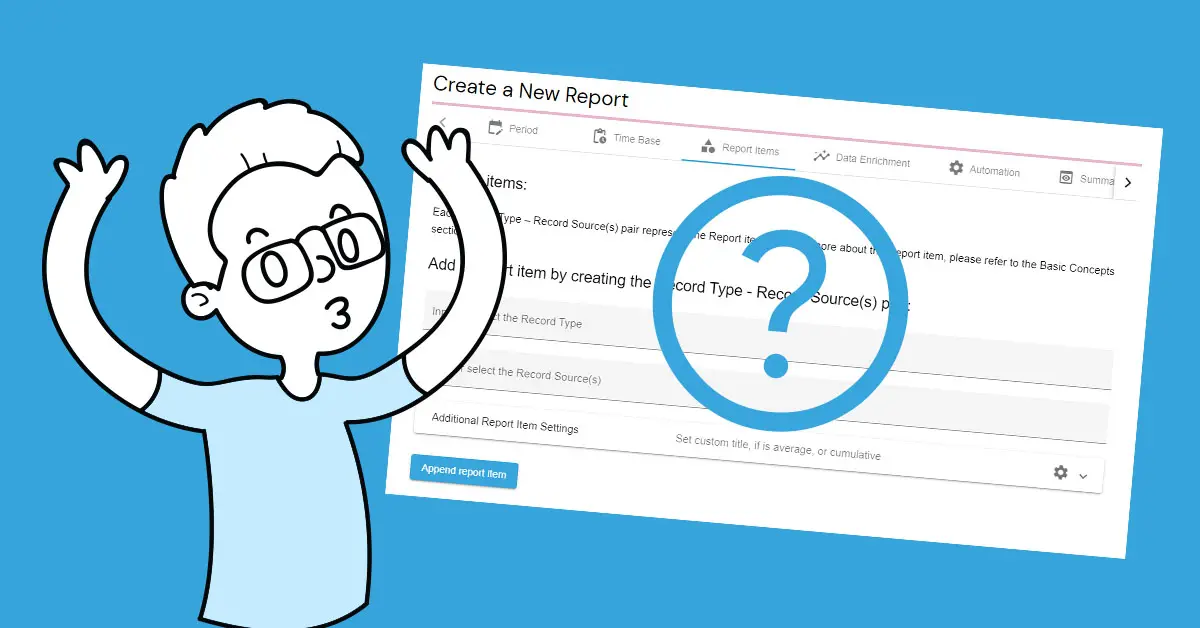
Since the Report configuration offers a wide variety of so-called helper features, a basic Report configuration is covered in this tutorial. Do not miss other tutorials, where everything Report-related is explained.
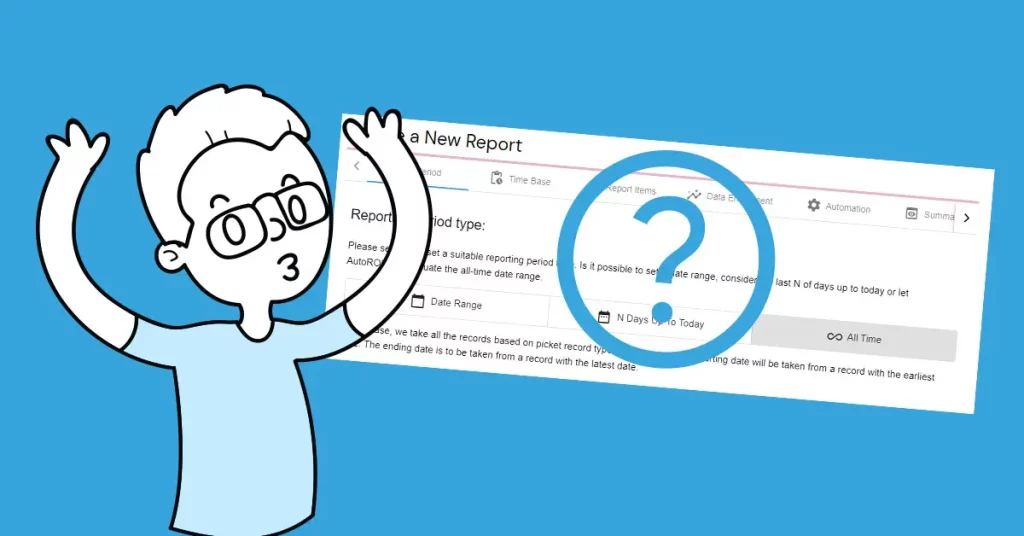
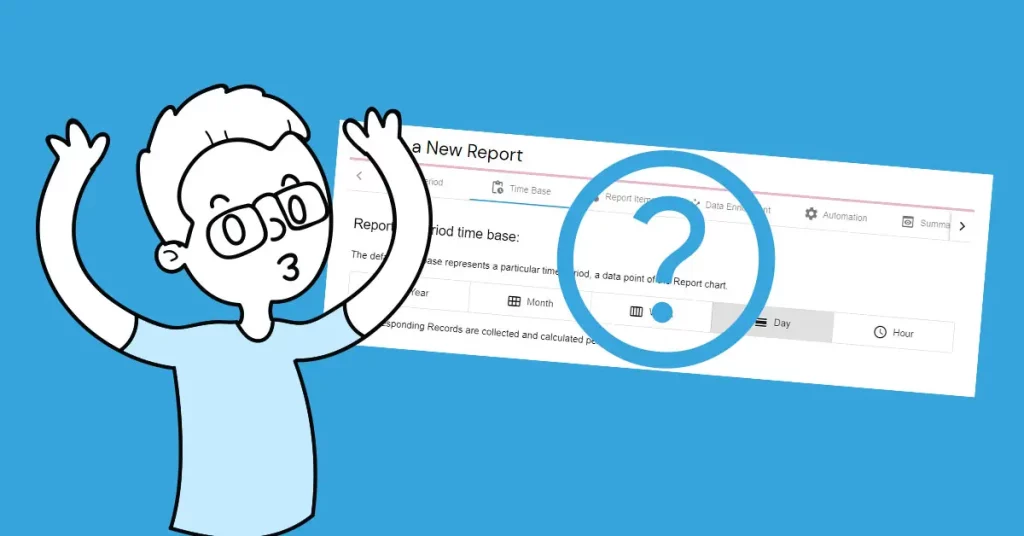
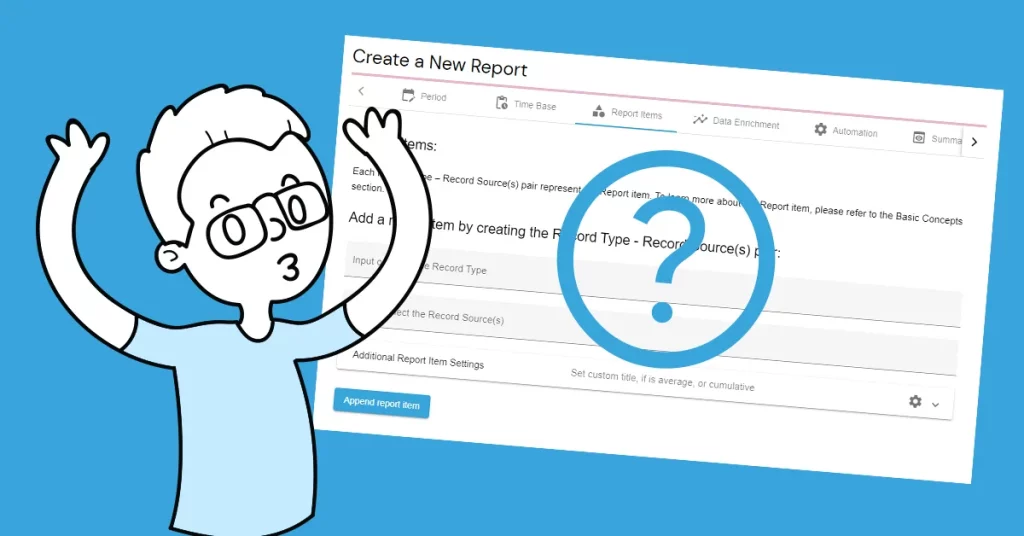
Navigate to Reports and then click on the “Create a New Report” menu item. You should get an intuitive feel at the first glance. We use sample Records representing sample 7-day activity to demonstrate this Report creation. So we are going to leave the reporting period type to “All Time” and reporting period time base to “Day“. The “Report Items” is the most important part of this tutorial. The Report has no meaning without report items. Each Record Type – Record Source pair represent the Report item.
We proceed with creating and adding a sample Report items:
- The first is going to be one with the record type of “cost” and the source named “campaign 1“. We want the “cost” to be expressed as red in the Report chart. We “Append report item” when ready.
- The second is going to be one with the record type of “profit” and the same source name, “campaign 1“. We want the “profit” to be expressed as green in the Report chart.
- We can intuitively feel that we are focusing on an imaginary performance of the imaginary marketing campaign named “campaign 1“, where we are tracking costs and profits.
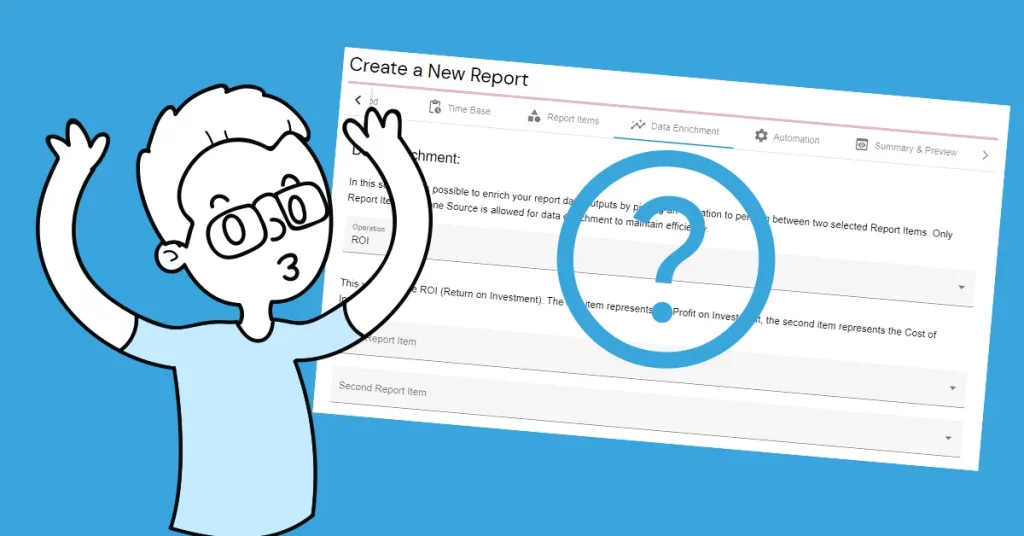
Let´s move to the “Data Enrichment” tab now. Since we have the cost and profit data, let the Report calculate the ROI for us. Keep up watching other tutorials to get up with the Data Enrichment in deep.
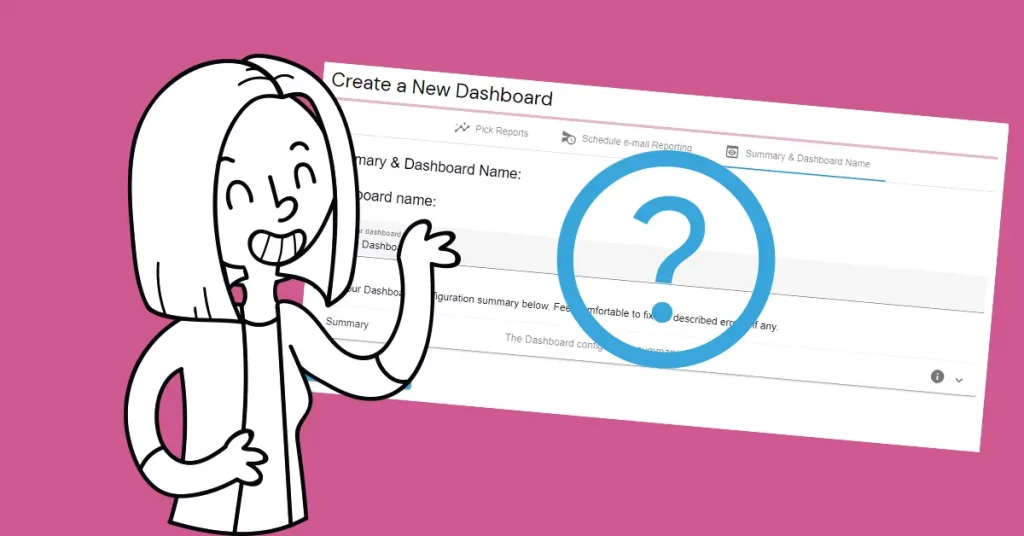
Now let´s move to the “Summary & Preview” tab. We are going to name our report “Sample Report”, get the report preview, and Save it. Congratulations on creating your first Report!