Of course, we all know that the Google Search Console helps to monitor our site’s presence in Google Search results. But why not bring a bit of customization and automation for the SEO improvement?
- What SEO data can we automatically get?
- What data do we actually need?
- Let’s fetch and import
- Custom Google Search Console Data Reports
- Create a Custom SEO Dashboard
- The SEO Dashboard View
- Benefits
What SEO Data Can We Automatically Get?
Here we are:
- Impressions – How often someone saw a link to a site on Google,
- Clicks – How often someone clicked a link from Google to a site,
- Clickthrough rate (CTR) – The calculation of Clicks / Impressions,
- Position – A relative position ranking of a link on Google.
Additional dimensions:
- QUERY – The query strings that users searched for,
- PAGE – The final URL linked by a search result,
- COUNTRY – The country where the search came from,
- DEVICE – The type of device on which the user was searching. Either desktop, tablet, or mobile.
What Data Do We Actually Need?
Probably the most valuable are Impressions, Clicks, and Position. From the dimensions, let’s pick the QUERY and PAGE.
Let’s Fetch and Import
Under the Account > Integrations, find the Google Search Console section.

Click on the “Sign in with Google” button, authorize, and continue.
Select the Site and the Fields to import
Now we can pick the sites we have access to in the Google Search Console.

First Import – Getting Some Historic Data
To have some “starter-pack” data, we can do the “One-Time Manual Insights Import“. Select the desired site, proper import type, and desired date range.
Next, let’s select the Fields. For this case, let’s pick all the fields – data we can utilize.

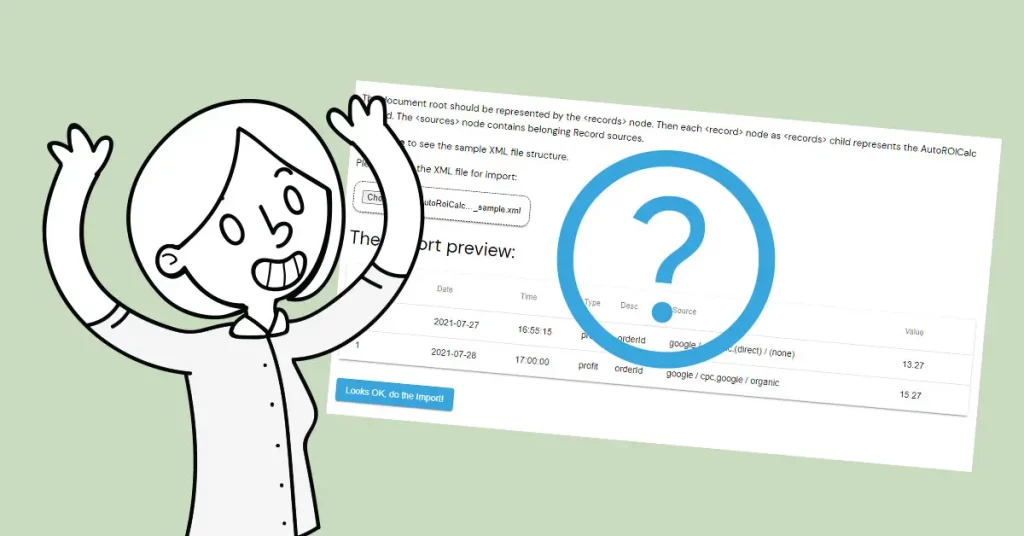
Finally, preview and confirm the Import.

Second Import – Set up the Automated Fetch
Let’s put the automation into the game. Set up automated data import for the desired Site from Google Search Console. In this case, we select the “Schedule the Insights Importing on a Daily Basis” option. Additionally, we set the desired time of the day for the automated processing.

Next, we configure the import fields and confirm the automation. Now we can see the automation item under the Google Search Console integration.

Check the Records
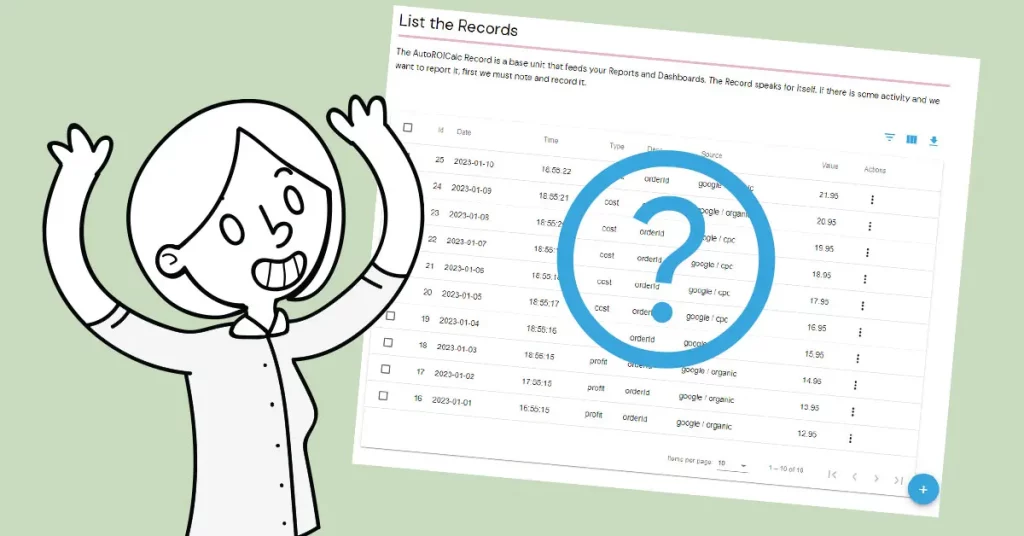
Optionally, we can always visit the Data Warehouse of AutoROICalc Records to check the data we are dealing with. Let’s check out the Records in the Records -> List the Records section.

Custom Google Search Console Data Reports
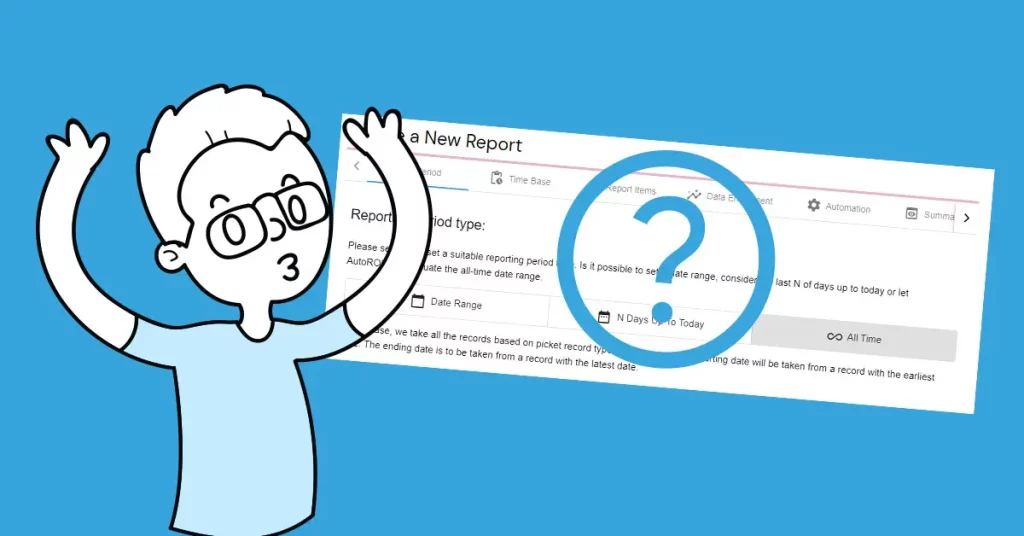
It’s time to head into Reports -> Create a New Report section.
Custom Report for Impressions, Clicks, and Position
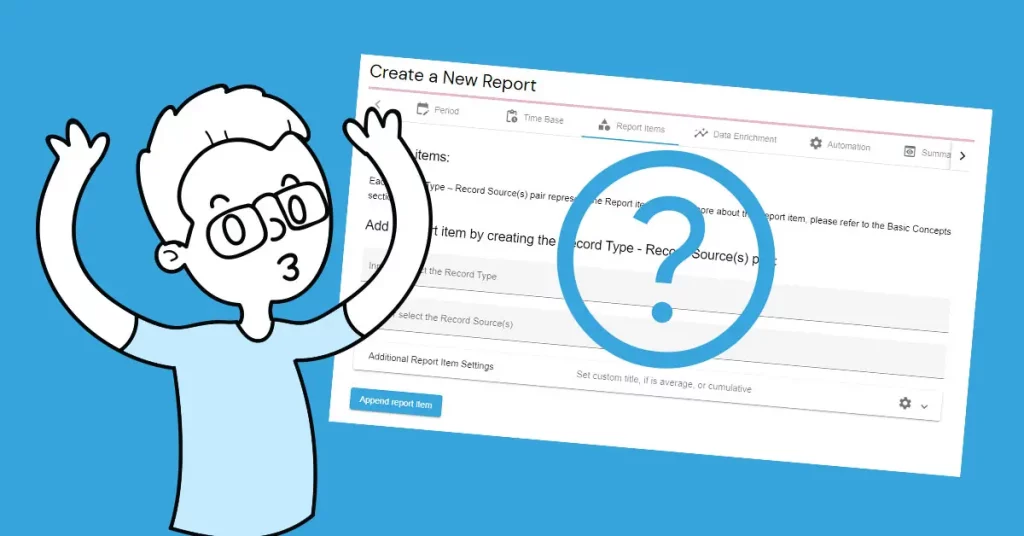
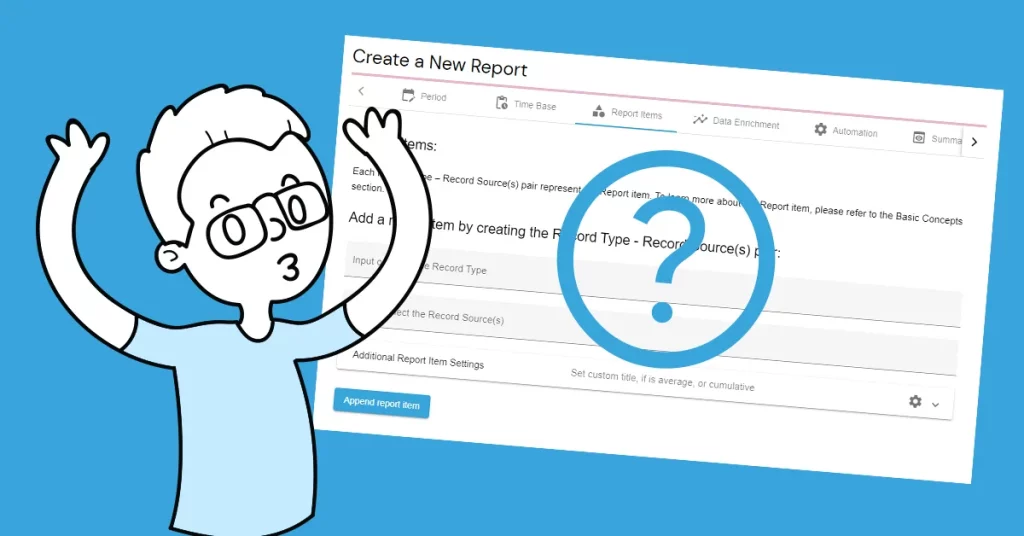
Let’s set up Report items for Impressions, Clicks, and Position.
Impressions
This is the setup for the Impressions Report Item:
- Select “impressions” as the Record Type.
- Select “AutoROICalcAllSources” to include all the sources.
- Optionally set desired custom Report Item Title, “Impressions” for example.
- Check “Hide source” to hide the Report Item source(s) in the Report view.

Clicks
This is the setup for the Clicks Report Item. Almost the same:
- Select “clicks” as the Record Type.
- Select “AutoROICalcAllSources” to include all the sources.
- Optionally set desired custom Report Item Title, “Clicks” for example.
- Check “Hide source” to hide the Report Item source(s) in the Report view.

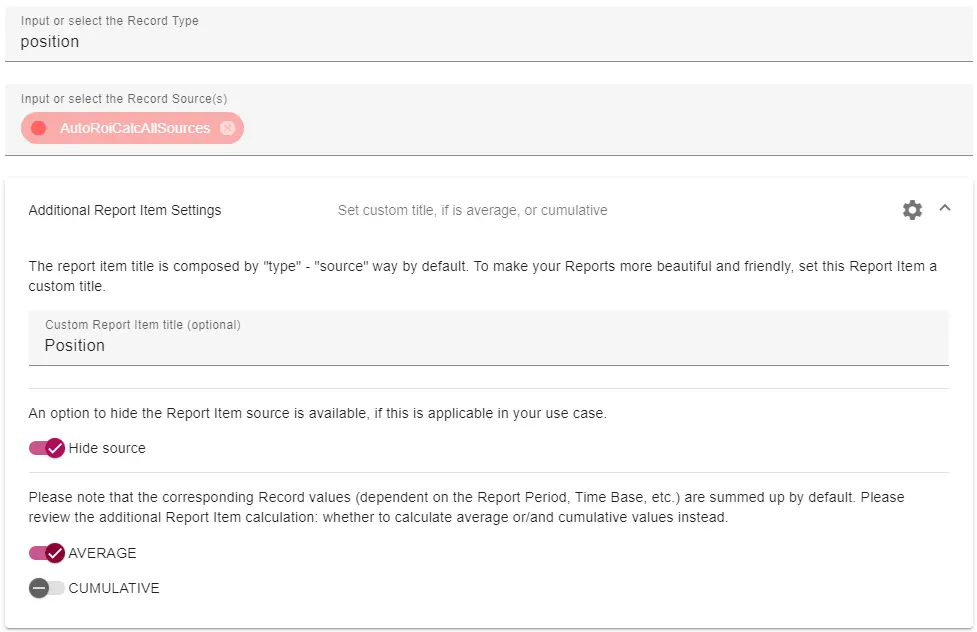
Position
This is the setup for the Impressions Report Item:
- Select “position” as the Record Type.
- Select “AutoROICalcAllSources” to include all the sources.
- Optionally set desired custom Report Item Title, “Position” for example.
- Check “Hide source” to hide the Report Item source(s) in the Report view.
- Check “AVERAGE” to calculate our Position as average in the Report view.
Let’s preview and save our custom report. It should feel like:

Custom Report for QUERY, PAGE, COUNTRY, and DEVICE
Let’s set up Report items for search QUERY, PAGE, COUNTRY, and DEVICE.
QUERY
This is the setup for the search QUERY Report Item:
- Select “QUERY” as the Record Type.
- Select “AutoROICalcAllSources” to include all the sources.
- Optionally set desired custom Report Item Title, “Query” for example.
- Check “Hide source” to hide the Report Item source(s) in the Report view.

PAGE
This is the setup for the search PAGE Report Item:
- Select “PAGE” as the Record Type.
- Select “AutoROICalcAllSources” to include all the sources.
- Optionally set desired custom Report Item Title, “Page” for example.
- Check “Hide source” to hide the Report Item source(s) in the Report view.

COUNTRY
This is the setup for the search COUNTRY Report Item:
- Select “COUNTRY” as the Record Type.
- Select “AutoROICalcAllSources” to include all the sources.
- Optionally set desired custom Report Item Title, “Country” for example.
- Check “Hide source” to hide the Report Item source(s) in the Report view.

DEVICE
This is the setup for the search DEVICE Report Item:
- Select “DEVICE” as the Record Type.
- Select “AutoROICalcAllSources” to include all the sources.
- Optionally set desired custom Report Item Title, “Device” for example.
- Check “Hide source” to hide the Report Item source(s) in the Report view.

Let’s preview and save our custom report. It should feel like:

Create a Custom SEO Dashboard
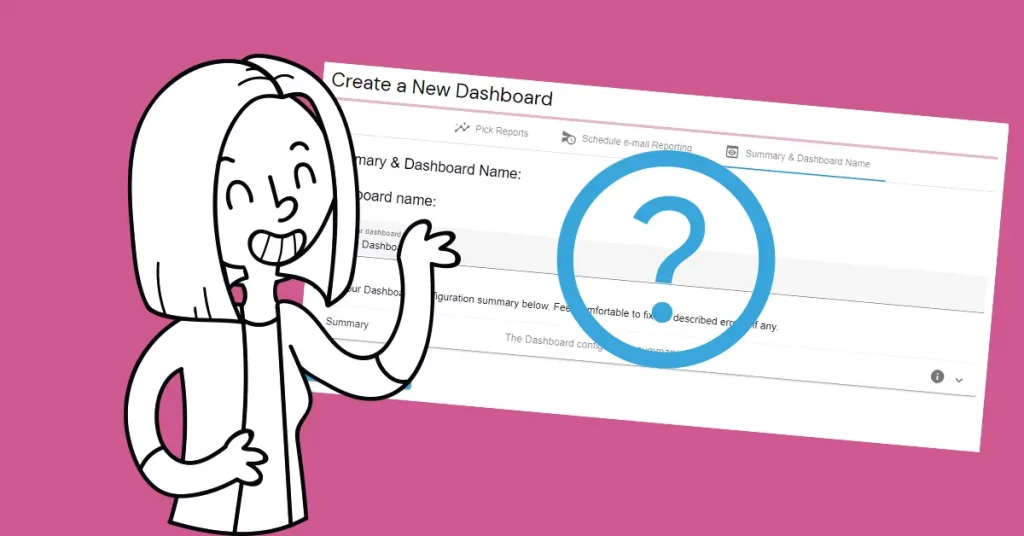
Head into Dashboards -> Create a New Dashboard section. Include the reports we have in our custom SEO dashboard.
Include Custom SEO Reports

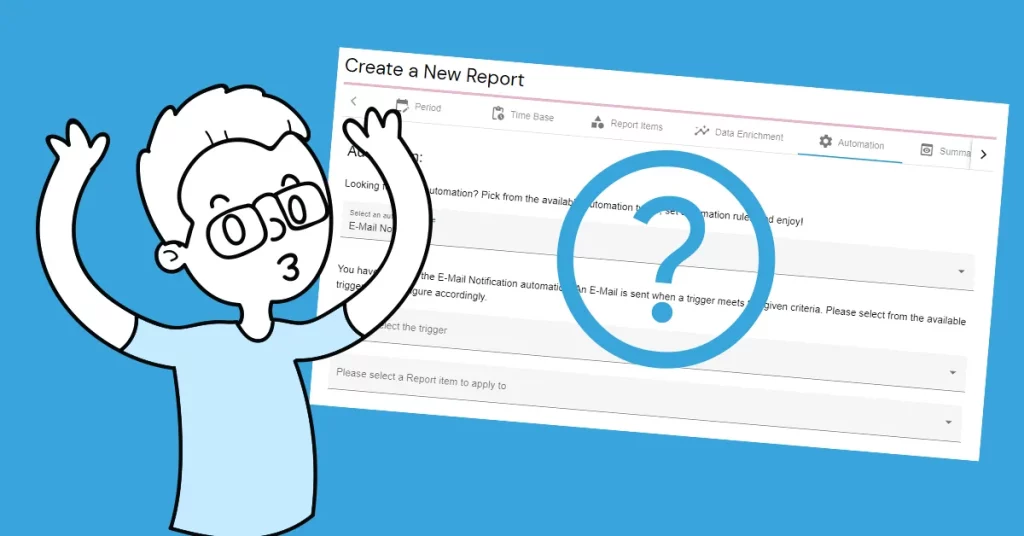
Schedule Automated E-mail Reporting
Move it to the “Schedule e-mail Reporting” tab and configure it as desired.

Proceed to the summary and save the new SEO Dashboard.
The SEO Dashboard View
Now there’s everything usable under one hood. What should be done to track and improve SEO efforts?

Focusing on a Particular Point Of Interest
Move the focus on what matters. Adjust the view to have a clear picture, for example for Impressions.

Who is looking for the number and nature of queries?

Which Are The Most Relevant Search Queries?
Open the “Sources Distribution” section and have a look.

Which Pages Are Shown The Most?
Move the view to the next “Sources Distribution” item, the Pages.

Similarly, take a look at Countries and Devices.
A More Focused View On The Search Queries
Knowing which keywords or search queries are the most important and most relevant to our business (or particular content) is important. This case study focuses on the “automated SEO report” keyword, or query.
Highlight The Relevant Search Queries
Go to the Account -> Settings section and stay on the Report tab. Click on the “Add New Source Appearance” button.

Input “automated seo report” and click on the “Proceed” button. Pick the relevant color for this custom appearance and favorite icon. Finally, click on the “Update Report Settings” to apply the changes.

The Customized View
Now go back to the Report or Dashboard view and take a look at the QUERY type in the “Conversion Paths” section.

Benefits
What are the benefits we have with this use case?
Automated, Consistent, Re-Usable Data
- Automated data imports from Google Search Console.
- Secured, re-usable data storage always accessible for any other use case.
- Instant data export into CSV or XML. Or is there any other preferred format?
Automated E-Mail Reporting
- We’ve set up automated e-mail reporting on a daily basis.
- It helps us keep track of our SEO efforts without going anywhere. Just checking the mailbox as we do every day.
Involving Others Who Care
If there is someone who cares:
- We can include him in the automated e-mail reporting to receive his daily report copy.
- Or create a public URL for specific reports.
- Or share specific reports into his user account.
At this stage, automated e-mail reporting is the most convenient way. We are sometimes too lazy to open any analytics tool 🙂
Start your journey to success now!
We’ll show you the way.
Write us at support@autoroicalc.com or
Flexible analytics & reporting without BI complexity
Unify your data, build custom metrics, and automate dashboards and reports — all in one platform.
Unified and Consistent Data Layer
Aggregate and structure data from multiple platforms into one reliable, analytics-ready environment.
Flexible Data Management
Manage your data manually or automatically with powerful tools for synchronization, updates, and transformations.
Accessible Anytime, Anywhere
Your dashboards, reports, and data remain accessible across devices — always under your control.
Custom Analytics & Automated Reporting
Define your own KPIs, build custom dashboards, and automate reporting workflows across your organization.
Set Once, Enjoy Forever!
Start your free 30-day trial and explore all features.
Explore the pricing plans. No credit card is required.