Almost everyone who started dealing with their e-commerce has definitely come across Woocommerce. It is an open-source platform build on wordpress where customizations are welcomed. And that´s a good starting point for AutoROICalc and great news for you!
Prerequisites
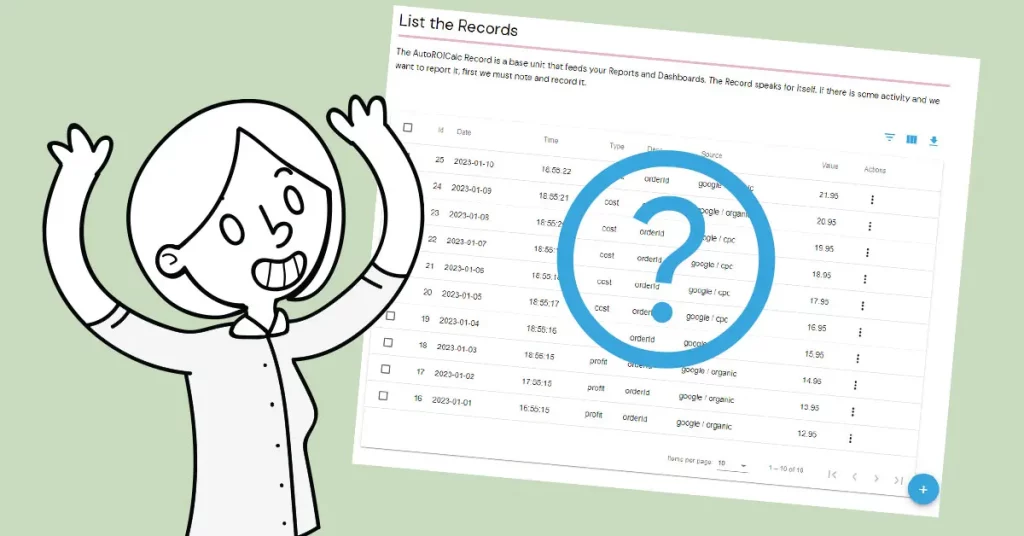
In terms of AutoROICalc all we need to know is positive ROI to conduct that we are successful with our e-commerce efforts. Woocommerce orders are our points of interest in this case. To make it happen, let´s take a look at the AutoROICalc Record:
- Date and Time is an information we know. It is the date and time of the order.
- Record Types will be in our case Cost of Goods, Profit and Sales optionally.
- Description can be for example the order number.
- Record Source(s). A tricky one(s)? Campaign name for example of name of the marketing channel, e.g. MailChimp, Facebook, Instagram, TikTok, etc.?
- Record Value. Particular values for Cost of Goods, Profit, etc.
The plain Woocommerce package offers to set the product price only, including the sale price. We need to add the Cost of Goods field and calculate the order Profit on our own. Fortunately, it’s not as complicated as it sounds.
Add custom Cost of Goods field
Just open any of your Woocommerce products (or add new ones) in the administration area and scroll down to the “Custom Fields” section. Click the “Enter new” link, name the field, and put the custom “Cost of Goods” value as shown in the example below:

Confirm by pressing the “Add Custom Field” button. Now the “costOfGoods” field as shown in the example above is known by Woocommerce. In other cases, just select it from the available “–Select–” options.
How do we calculate the profit?
As far as we have the Product Price (revenue) and Cost of Goods values, the calculation of Profit is quite simple:
Product sale price (Revenue) – Cost of Goods = Profit
The profic calculation formula
What about the Record Source(s)?
We have several options. Here are suggestions:
- Use the getSetReff package to get Google Analytics like source/medium referrers.
- Use custom cookie that will be updated with “special” URL query parameter.
- Omit this and use single general source name.
Manage the Record Sources using custom cookie
There may be better approaches, but we consider this one is the best as it is the most straightforward and could be completely under your control and maintenance.
We set a “special” URL parameter where the parameter value is the Record Source. We use this URL across our marketing campaigns and spread it across our marketing channels. Each time the “special” URL is detected, the cookie value with Record Sources is updated.
This is a sample “special” URL, where “recordSource” is the parameter name and the “campaignNo1″ is its value:
https://yourecommerce.store/sample-product?recordSource=campaignNo1
Let´s use self-explanatory JavaScript to get the things done:
// Helper functon to get the particular cookie value
// Credits: https://www.w3schools.com/js/js_cookies.asp
function getCookie(cname) {
  let name = cname + "=";
  let decodedCookie = decodeURIComponent(document.cookie);
  let ca = decodedCookie.split(';');
  for(let i = 0; i <ca.length; i++) {
    let c = ca[i];
    while (c.charAt(0) == ' ') {
      c = c.substring(1);
    }
    if (c.indexOf(name) == 0) {
      return c.substring(name.length, c.length);
    }
  }
  return "";
}

function getRecordSource() {
  // Create a new URL object representing the URL defined by the parameters
  // The URL is current window location
  let url = new URL(window.location.href);
  // Look for the "recordSource" parameter
  let recordSource = url.searchParams.get("recordSource");

  // There is no point in continuing if the value is not set
  if (!recordSource) {
    return;
  }

  // Set an array of the record sources
  let recordSourcesArray = [];

  // Get current/previously stored record sources
  let currentRecordSources = getCookie("recordSources");

  // Update the record sources array if "current" record sources found, the delimiter is "|"
  if (currentRecordSources) {
    recordSourcesArray = currentRecordSources.split("|");
  }

  // Append the new record source to the array
  if (!recordSourcesArray.includes(recordSource)) {
    recordSourcesArray.push(recordSource);

    // We want to store max 6 sources, so we remove the first if there is a new one
    if (recordSourcesArray.length > 6) {
      recordSourcesArray.shift();
    }
  }

  // Set the new cookie value (must be a string)
  document.cookie = "recordSources=" + recordSourcesArray.join("|");

  // Verify the stored value in case of testing
  console.log(getCookie("recordSources"));
}

// Just run the function
getRecordSource();
Be inspired or directly trigger this JavaScript code on each relevant page of your e-commerce. Optionally, it is possible to get for example referrer by using document.referrer in JavaScript.
And finally, start collecting your valuable data
Now we have everything we need to utilize the AutoROICalc API to collect valuable data. We collect the data each time a new order is placed in Woocommerce. We use the WordPress add_action function in order to do so.
<?php

  // Action hook to get the order data before save
  add_action( "woocommerce_checkout_create_order", "reportToAutoRoiCalc", 20, 2 );

  // The callback function processing the hook
  function reportToAutoRoiCalc($orderId) {
    // First, we create the record sources array, with initial value of none
    $recordSources = array("none");
    // Then we look for the custom cookie with the record sources we set with JavaScript
    if ( isset($_COOKIE["recordSources"]) ) {
      // Update the array with the sources from the cookie
      $recordSources = explode( "|", $_COOKIE["recordSources"] );
    }

    // Next procees to get the order object
    $order = wc_get_order( $orderId );

    // Getting the "valuable" data
    // Order total
    $orderTotal = round( $order->get_total(), 2 );

    // Order profit
    $orderProfit = 0;
    // Order items
    foreach ( $order->get_items() as $item_id => $item ) {
      // Getting the custom Cost of Goods field value!
      $costOfGoods = get_post_meta( $item->get_product_id(), "costOfGoods", true);

      if ($costOfGoods != "") {
        $costOfGoods = floatval($costOfGoods);
        $product = $order->get_product_from_item( $item );

        $qty = $item->get_quantity();
        $price = $product->get_price();

        $itemProfit = ($price - $costOfGoods) * $qty;
        $orderProfit += $itemProfit;
      }
    }
    // Order fees
    foreach( $order->get_items("fee") as $item_id => $item_fee ) {
      $feeTotal = $item_fee->get_total();
      $orderProfit += $feeTotal;
    }
    // Round the profit
    $orderProfit = round( $orderProfit, 2 );

    // Create the AutoROICalc Records (feel free to adjust particular fields as type or desc)
    $date = date("Y-m-d");
    $time = date("H:i:s");
    $autoRoiCalcRecords = array(
      array(
        "date" => $date,
        "time" => $time,
        "type" => "transactionRevenue",
        "activity" => "closed",
        "desc" => $orderId,
        "source" => $recordSources,
        "value" => $orderTotal
      ),
      array(
        "date" => $date,
        "time" => $time,
        "type" => "transactions",
        "activity" => "closed",
        "desc" => $orderId,
        "source" => $recordSources,
        "value" => 1
      ),
      array(
        "date" => $date,
        "time" => $time,
        "type" => "transactionProfit",
        "activity" => "closed",
        "desc" => $orderId,
        "source" => $recordSources,
        "value" => $orderProfit
      )
    );

    // Post the Records to AutoROICalc
    $url = "https://autoroicalc.com/api/auto-roi-calc/v1/add-records/";
    $user = "<YOUR_AUTOROICALC_USERNAME>";
    $pass = "<YOUR_AUTOROICALC_API_PASSWORD>";

    $ch = curl_init($url);
    $payload = json_encode($records);
    curl_setopt($ch, CURLOPT_USERPWD, "$user:$pass");
    curl_setopt($ch, CURLOPT_POSTFIELDS, $payload);
    curl_setopt($ch, CURLOPT_HTTPHEADER, array("Content-Type:application/json"));
    $result = curl_exec($ch);
    curl_close($ch);

    // Optional: validate & handle the $result accordingly
  }

?>
Be inspired by the PHP code above. Integrate it to your custom WordPress plugin or put it directly to functions.php of your active theme.
Create the AutoROICalc Report
Now, when the AutoROICalc Records begin to flow, we are ready to create the Report that will help us to start tracking the ROI.
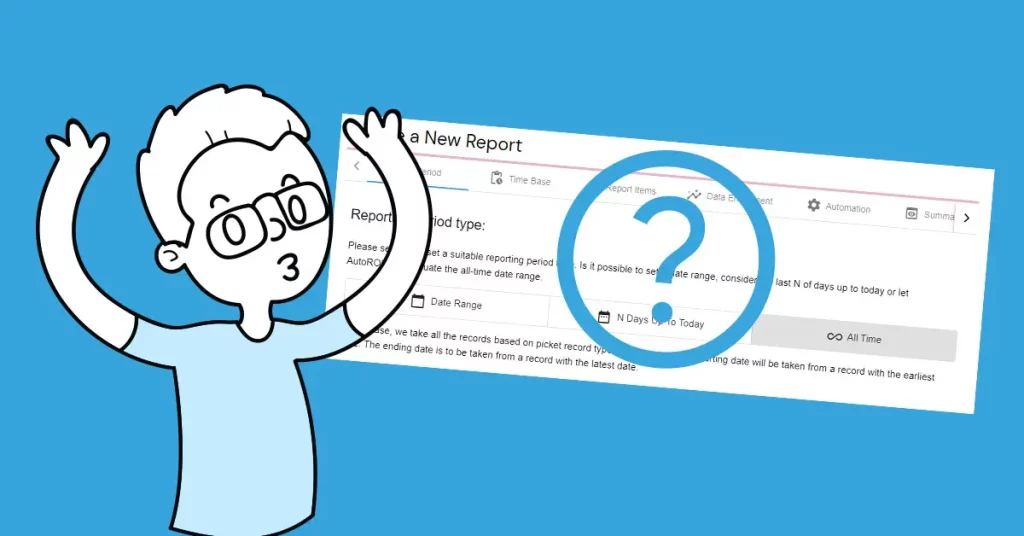
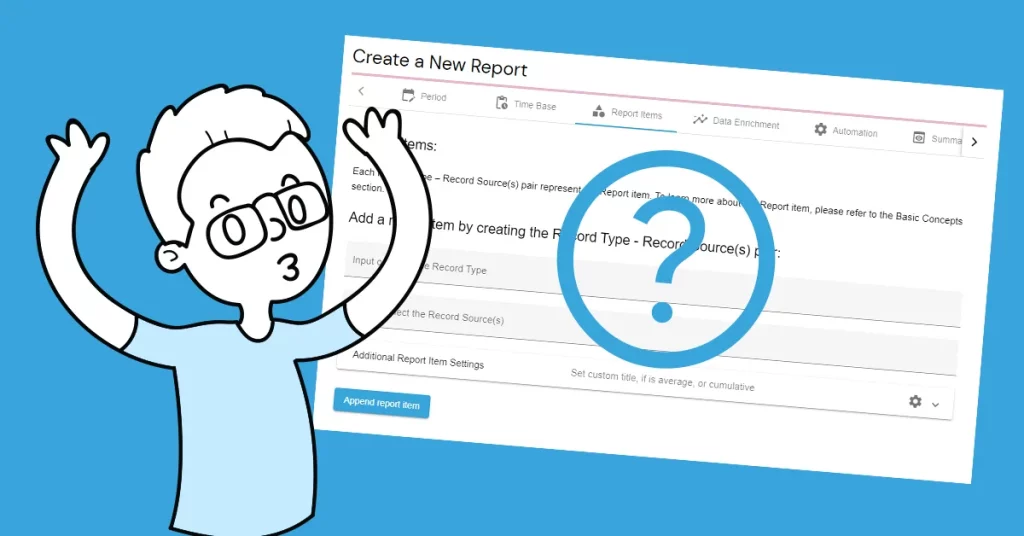
- Go to Reports -> Create a New Report
- Select preferred Reporting period type and time base
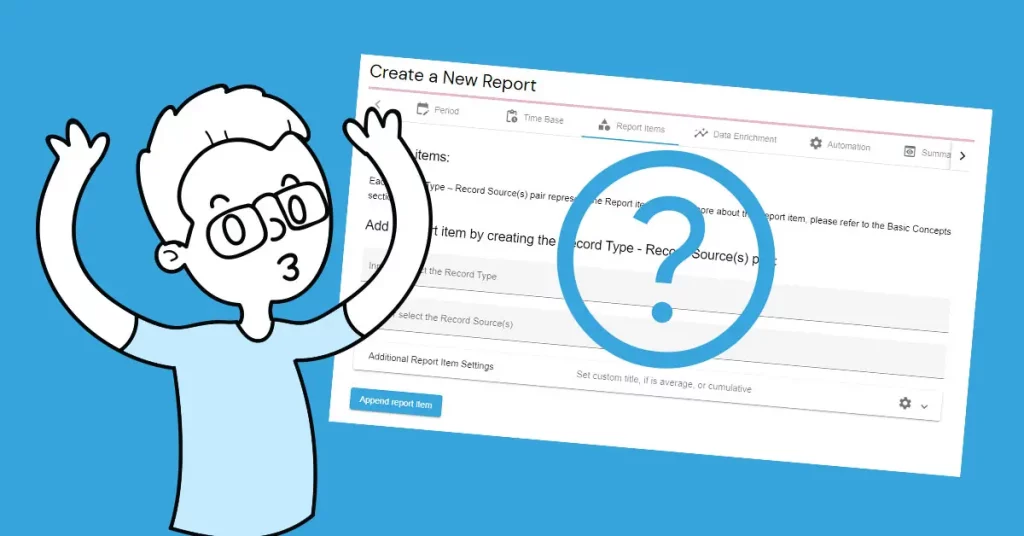
- In the “Report Items” part:
- select the Record Type transactionProfit (as we set it in the PHP code above)
- next you can select particular record sources (campaigns) or selec all sources by picking AutoRoiCalcAllSources
- Click “Append report item” when ready.
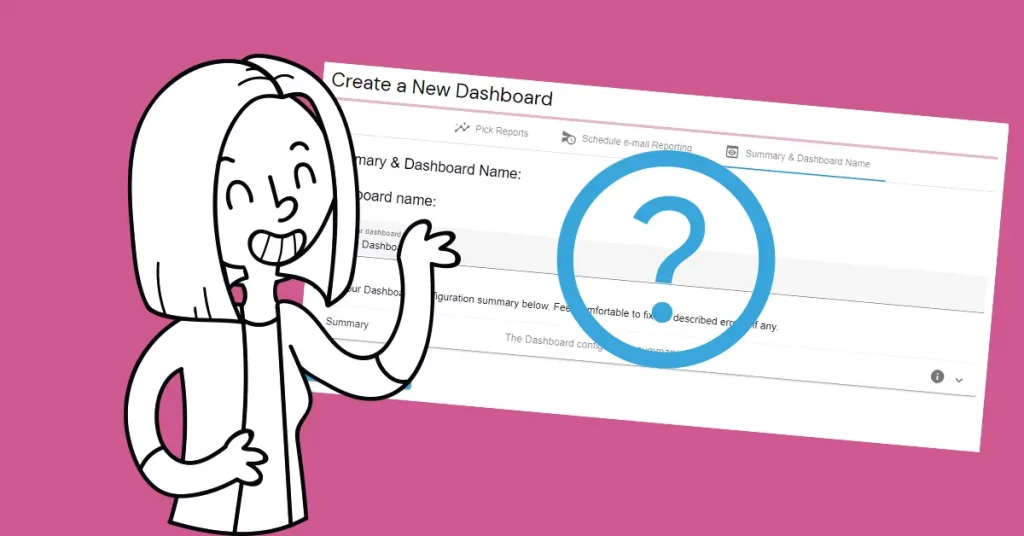
- Go to “Summary & Preview” part, input the Report name, Preview and Save the Report
At this stage, we have created a Report that reports only the Profit from the placed orders in Woocommerce.
What are the Costs?
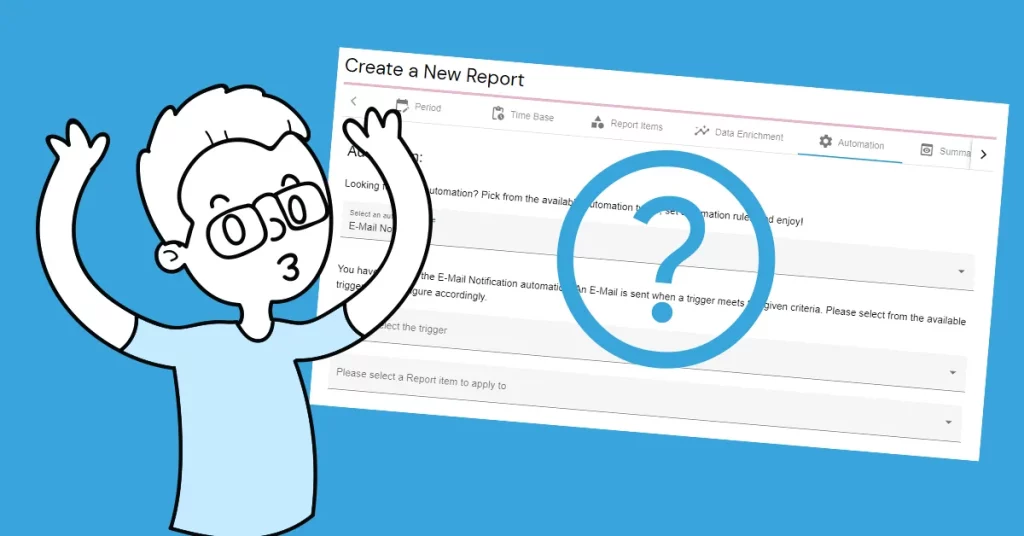
Provided that our Record Sources are some particular campaigns, we should consider tracking the Costs of these campaigns. The Costs can be added as AutoROICalc Records manually, or it is of course possible to utilize the AutoROICalc API (similarly as in the case of Woocommerce) or use one of the available integrations.
Enrich the Report with ROI
We assume that collecting the Costs data is solved out.
- Go to Reports -> List the Reports
- Find the target Report and click “Edit” in the “Actions” menu
- In the “Report Items” part:
- Select and “configure” all the appropriate Costs items.
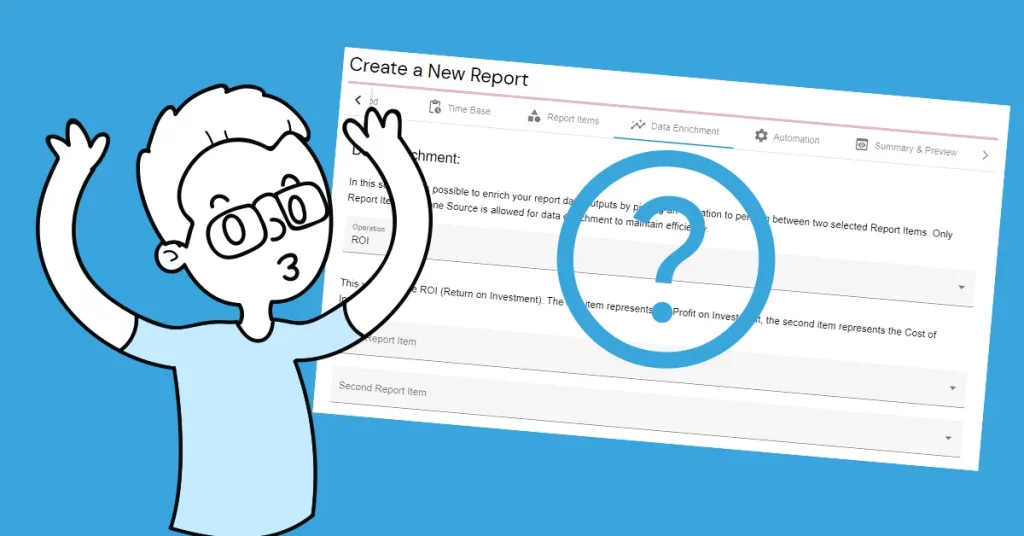
- In the “Data Enrichment” part, we have to select the First and Second Report Item
- First item is “Profit” in our case, the second “Costs”
- Select ROI from the available “Operations”
- Click “Append data enrichment item”
- Preview and update the Report.
Conclusion
The case study demonstrates how to achieve effective ROI tracking of a Woocommerce store. We have experienced a workaround with JavaScript to “capture” the Record Sources and the PHP part to collect and send desired data to AutoROICalc. We also have touched a part with the particular campaign Costs.
The purpose is to give the reader an idea of a starting point on how to handle the relevant processes on his own.
An adjustable AutoROICalc WordPress Plugin and a couple of integrations are on our roadmap to make the case as easy and simple as possible for every kind of user.
Flexible analytics & reporting without BI complexity
Unify your data, build custom metrics, and automate dashboards and reports — all in one platform.
Unified and Consistent Data Layer
Aggregate and structure data from multiple platforms into one reliable, analytics-ready environment.
Flexible Data Management
Manage your data manually or automatically with powerful tools for synchronization, updates, and transformations.
Accessible Anytime, Anywhere
Your dashboards, reports, and data remain accessible across devices — always under your control.
Custom Analytics & Automated Reporting
Define your own KPIs, build custom dashboards, and automate reporting workflows across your organization.
Set Once, Enjoy Forever!
Start your free 30-day trial and explore all features.
Explore the pricing plans. No credit card is required.